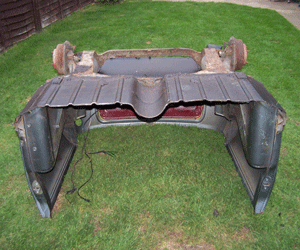
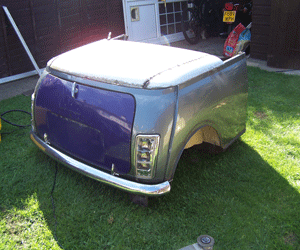
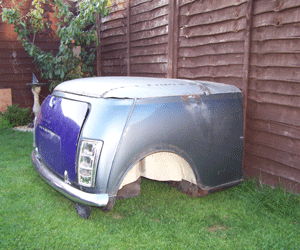
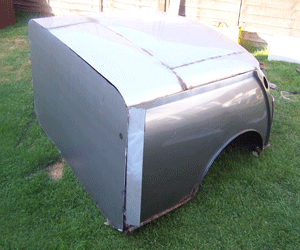
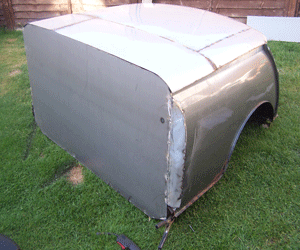
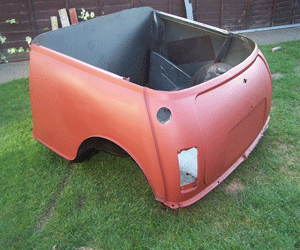
About 3 months ago a friend of mine sold me the back end of an old Mini, the front end was completely rotten and way beyond repair but the rear was not quite as rotten so I paid him £20 including the subframe and a couple of steel wheels. Spent an hour or two cutting off the roof and cutting the mini in half to leave me with what you see below
Loaded it on the trailer and took it away.

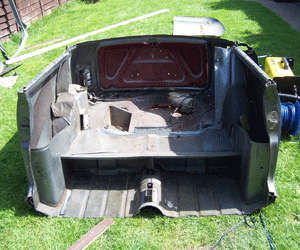

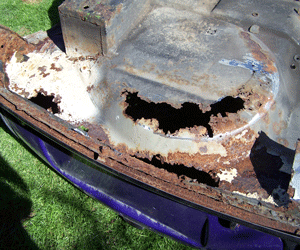
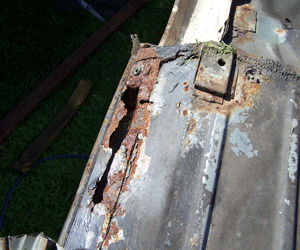
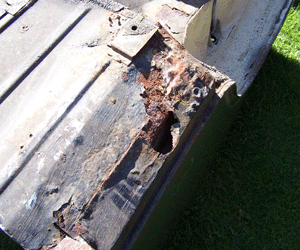
I removed the rest of the unwanted metal but kept the Mini roof hoping to use it as a top for my Mini Trailer. Most of the rear boot section was really rotten the rear valance was shot and a few holes in the wheel aches and sills to sort out and thats before I started making a trailer

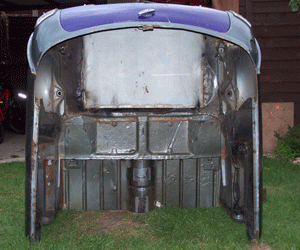

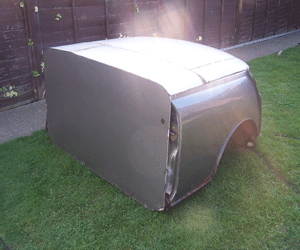
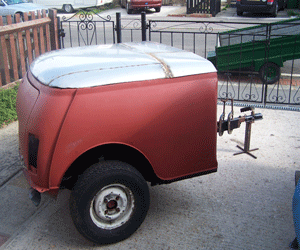
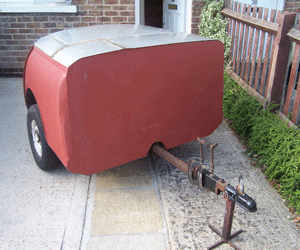
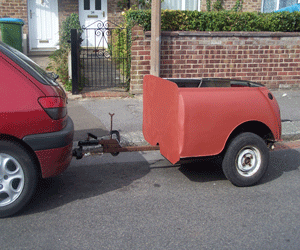
As you may already know a Mini is wider at the bottom than at the top so the roof would not go straight on the top of the trailer. So I cut it just over half way, then used the sides of the cut off to extend my sides to fit the trailer.
This allowed me to keep the shape of the original roof but slightly wider. I then used the remainder of the roof moulded to match the rest.


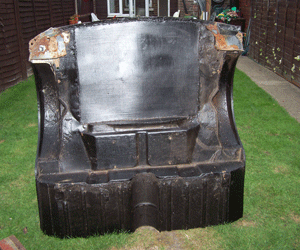
I cut the front panel leaving the corner which allowed me to keep the rear mini pockets in the trailer. I then cut and moulded a smaller plate around the corner and shaped it to match the side.

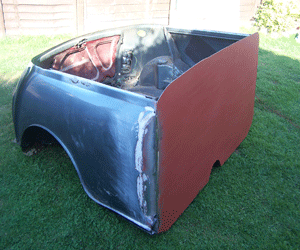
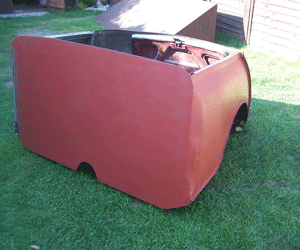

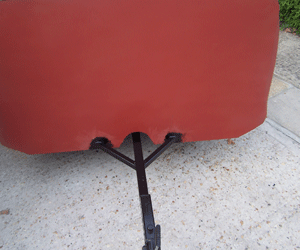
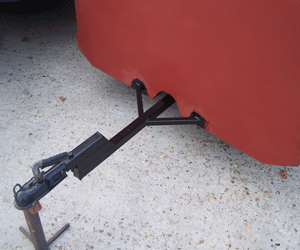
I mocked up the tow bar to make sure it was a good height for the car and also a good distance away from the car so I had a good turning circle. I made the bar the full length of the trailer and welded it straight to the subframe this gives a good sturdy fixing . I Then made up two braces to stop the towing bar twisting on the trailer when being towed. Getting the height right for the car was just a case of adding box sections to the bar G-clamping them in place and testing against the car until the height was correct. I spent a little time shaping and capping the box section to prevent water entering it.
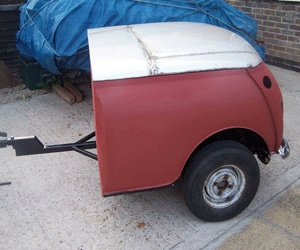
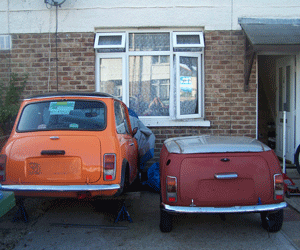
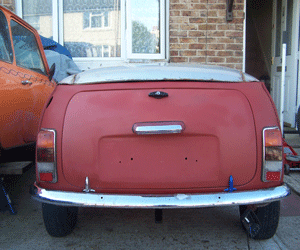

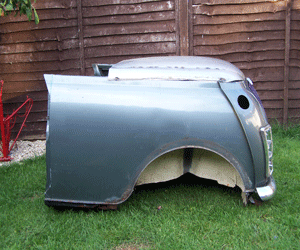
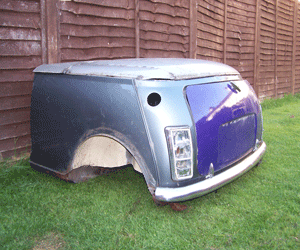
Managed to get hold of some of the missing parts today Lights, New Boot Lock and Number Plate Light all the bits that were not on the car when I brought it starting to look Like the back of a Mini now hey!
I Will be Putting the information about the towing bar here shortly such as Thickness of Box section Height from floor to tow ball and distance from trailer to hitch weather has taken a turn for the worse here so both Mini and Mini trailer are back under cover will do little jobs as i can and post pics and information.
British Weather Gotta Love It (NOT) :-(